Getting Started with DIY Smart Home Tech for Cheap
Updated on 31st Aug 2020 20:30 in DIY, Home Assistant, IoT, Smart
Smart homes are becoming more and more popular and with the "Internet of Things" (IoT) quickly gaining traction you might be wondering how you can get a piece of this futuristic pie. One of the common problems when starting a smart home is that there are so many different options that it can be overwhelming to know which one you should choose. Today we're going to cover an excellent choice when it comes to DIY smart home technology - one that is free, open to many completely different vendors, and easy to let your imagination run wild with.
This technology is Home Assistant. It features a sleek UI, hundreds of pre-existing plugins (called "integrations"), and best of all it is entirely 100% free. For the average DIYer, this really is an awesome deal considering most other home automation platforms will cost money or require the purchase of some sort of hub device that acts as the centre of your smart home.
Table of Contents
What is Home Assistant?
Home Assistant is a home automation platform that is completely open-source, meaning that in addition to costing you nothing to use, it's also highly customizable. It can run on almost any device including the very popular Raspberry Pi boards or on a full-fledged computer for users requiring more power. Despite all this, one of the best things Home Assistant has to offer is its massive community of users who post on their forums or write code to support new devices. A community of this size means that you are much less likely to be stuck with some problem that no one else on the net seems to have, no matter how specific what your trying to do is.
Anyone who's into DIY probably also likes to save some money when it's possible to do so - and it happens that one of the things I love the most about this platform is it's incredibly expansive device library. Since the software isn't tied to any particular vendor or wireless technology, the list of possible devices that can be integrated is virtually endless! It is even possible to add propriety technologies like Z-Wave to your system by using a USB "hub" adapter, which an integration can then use to bridge all the devices on that network into your smart home.
How I set up my smart home
At first, like many newcomers to smart homes, I was lost in a sea of choice when it came to which technology was the best. Should I use Z-Wave, WiFi, MQTT, REST, IFTT, or some other new tech? The list seems to go on and on, but the thing to realize is that you don't need to pick any single one of these as the modularity offered allows you to mix and match whichever ones you want. Mix and match are precisely what I did - I started out by scouting Amazon looking for smart devices with queries like "smart lightbulb" or "WiFiWiFi power plug".
These searches return a very long list of results, and as such, there is no shortage of products to pick from. The trick is to find the right balance between price and quality, as it is so often. The one difference here is that we can effectively ignore the technology that the device uses since we can most likely make it work within Home Assistant. Each popular technology has its pros and cons so, in the next section, we will cover the possible reasons for selecting each one.
WiFi devices
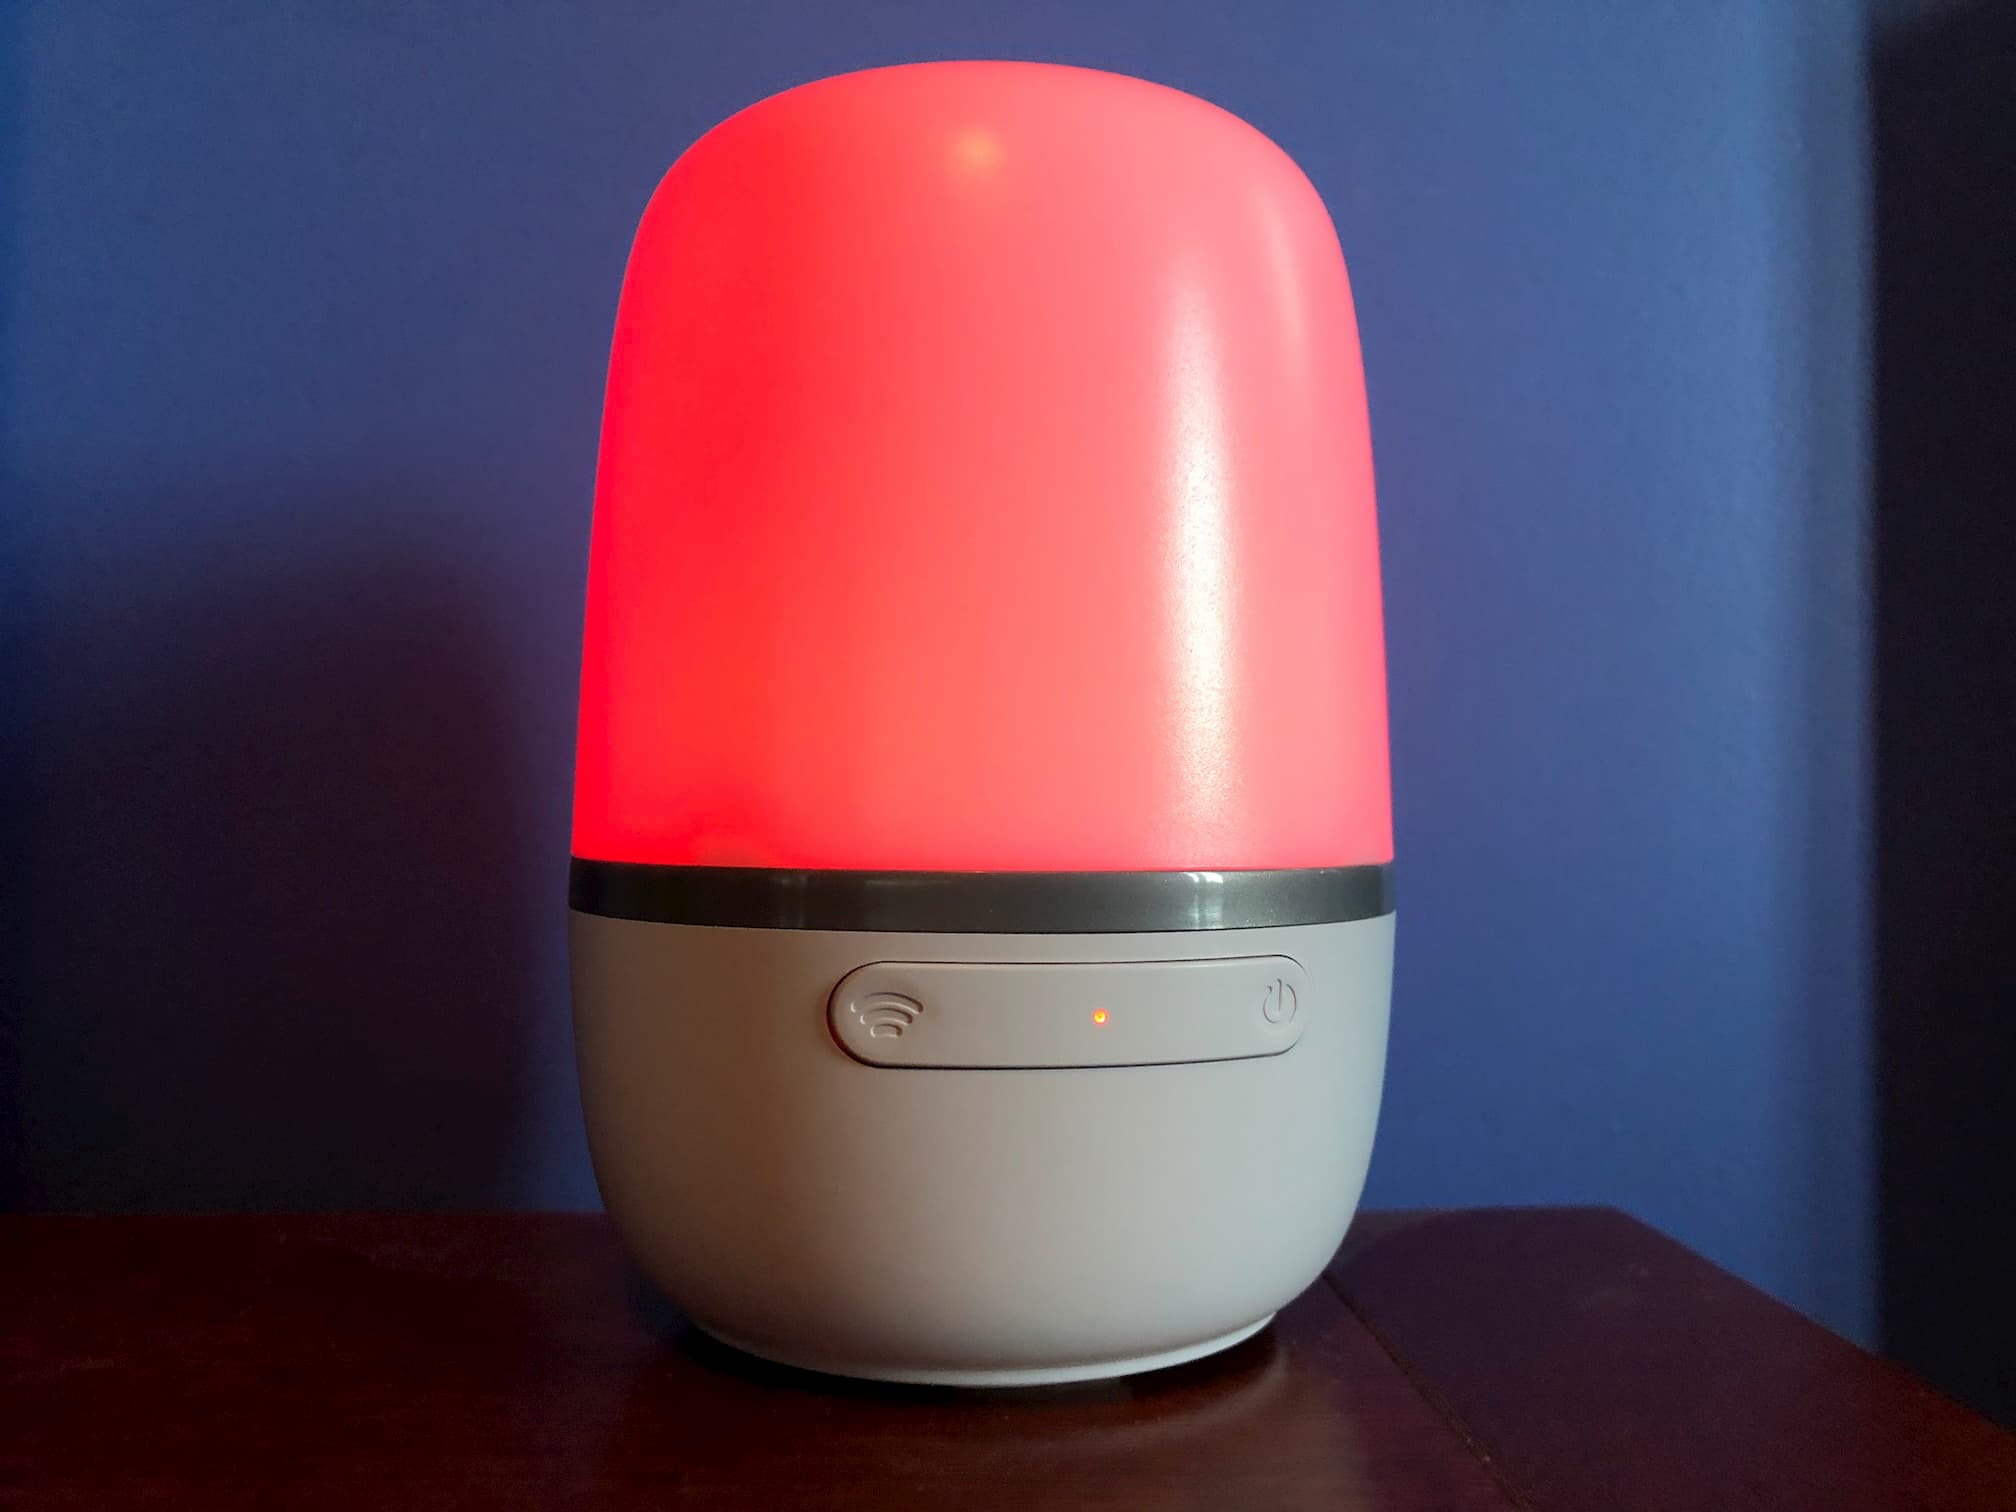
Smart devices that make use of WiFi are among some of the most popular products on sale, making it a very competitive market which is always a good thing for consumers. The reason these are so prevalent is that almost everyone has a WiFi network in their home. Since it's easy for the network chip to switch from connecting to a network to broadcasting its own, manufacturers can provide a simple mobile app that configures the devices. This really improves the user experience compared to any other type of equipment I've tried.
The downside with this hubless approach is that it means that every message will be sent to a central server somewhere, most likely run by the company you bought the system from. Many people have concerns over the security of running appliances from a cloud platform or the reliability of doing so. In many cases, this can mean losing your internet connection suddenly means you can't turn on the lights or unlock the door. This is obviously why fallback systems exist, but to me, it's better to reduce the risk of such occurrences by avoiding the cloud altogether.
One of the significant downsides of using WiFi for smart devices is that unless you have a small house or many access points range can be a problem. Some of my lights are just on the edge of coverage and occasionally drop out, which can be very annoying. This isn't a deal-breaker but something to consider when planning out your smart home.
Z-Wave devices
A Z-Wave system is one that uses the proprietary technology managed by z-wave.com. One of the significant advantages of using Z-Wave is that it makes use of mesh networking to extend the range of the network. Any node that you install will act as a repeater effectively making the working range of your network much more significant. As an additional benefit, the standard is regulated, which means that generally, your experience with different products will be smoother.
Unfortunately, this technology has many drawbacks, one of which is the very high price to entry. While a WiFi device may cost around 20$, most Z-Wave compatible systems are at least 60$. This is without mentioning the price of the hub that you will have to buy for all of the smart devices to connect to. If you are thinking of using this technology, then it is best to select a Z-Wave "stick" such as the Aeotec Z-Stick so that it can be integrated into Home Assistant.
Other devices
There exists a few other kinds of technologies, such as Zigbee, Insteon, and Bluetooth. Most of these have more drawbacks than advantages for me, so I haven't used them too much. Zigbee is similar to Z-Wave except it runs on a different frequency and seems to be slightly less popular. Insteon is a proprietary system that only works with other Insteon devices and as such does not fit the DIY goal. Finally, Bluetooth is a reasonably good option, but its biggest drawback is that it does not have very good range and it can't really be extended.
Building a smart home from the ground up
Once you have an idea about the kind of devices you want to get, it's essential to have a plan for the sort of automations you want to have in your home. Think of what could make your life easier and think of combinations of devices that can be used to make them a reality. I knew that I wanted light control so I could set timers to turn lights on and off automatically around my schedule. There's also an AC unit that has an IR remote that I'd like to have automated so that I'm not cooling an empty house or forgetting to turn it on.
Here are some common general types of automations that might inspire you:
- Climate control: heating/cooling rooms using sensors.
- Humidity: reading the value from a sensor and running a humidifier if it's too low.
- Scheduled lights: have the lights on when you get home and turn off in the morning.
- Access control: use smart door locks to secure doors, have them locked at a set time.
- Presence detection: figure out who's home and do different things in different situations.
- Security: some sensors can detect movement, can be used to trigger alarms or turn on lights.
Personally, I have made use of quite a few of these ideas. The sky really is the limit with a smart home since any device can accept inputs which can then trigger all sorts of events that can be used to make everyday life more comfortable. One such idea I used is to have a pressure sensor under my phone's charging pad on my nightstand. This allows me to use the weight of my phone charging when I go to bed as a trigger for my nighttime routine, including turning off the lights.
At this stage, you want to write down everything that comes to mind, many may be impractical, but you'll want a list of all the devices you may need before you make any decisions. Once you're done, you should have a list of the kind of things you'll want to have control of - use that to start searching for products that may fit your needs. Remember that Home Assistant is compatible with a very long list of things, but you'll want to check home-assistant.io/integrations/ before deciding on anything in particular. If the device you are thinking of buying is listed there, then you are good to go! If it isn't, it doesn't mean that it can't be supported, but it is important to understand that there may be more work involved in getting it working which might be an issue depending on your technical skills.
It is also essential to take note of the type of technologies that the devices you're interested in use. If they are Z-Wave, you will need to buy a Z-Stick or similar equipment so don't forget to check! WiFi devices can be a bit trickier, but generally, anything that lists "IFTTT" (If This Then That) integration will work.
Picking how Home Assistant will run
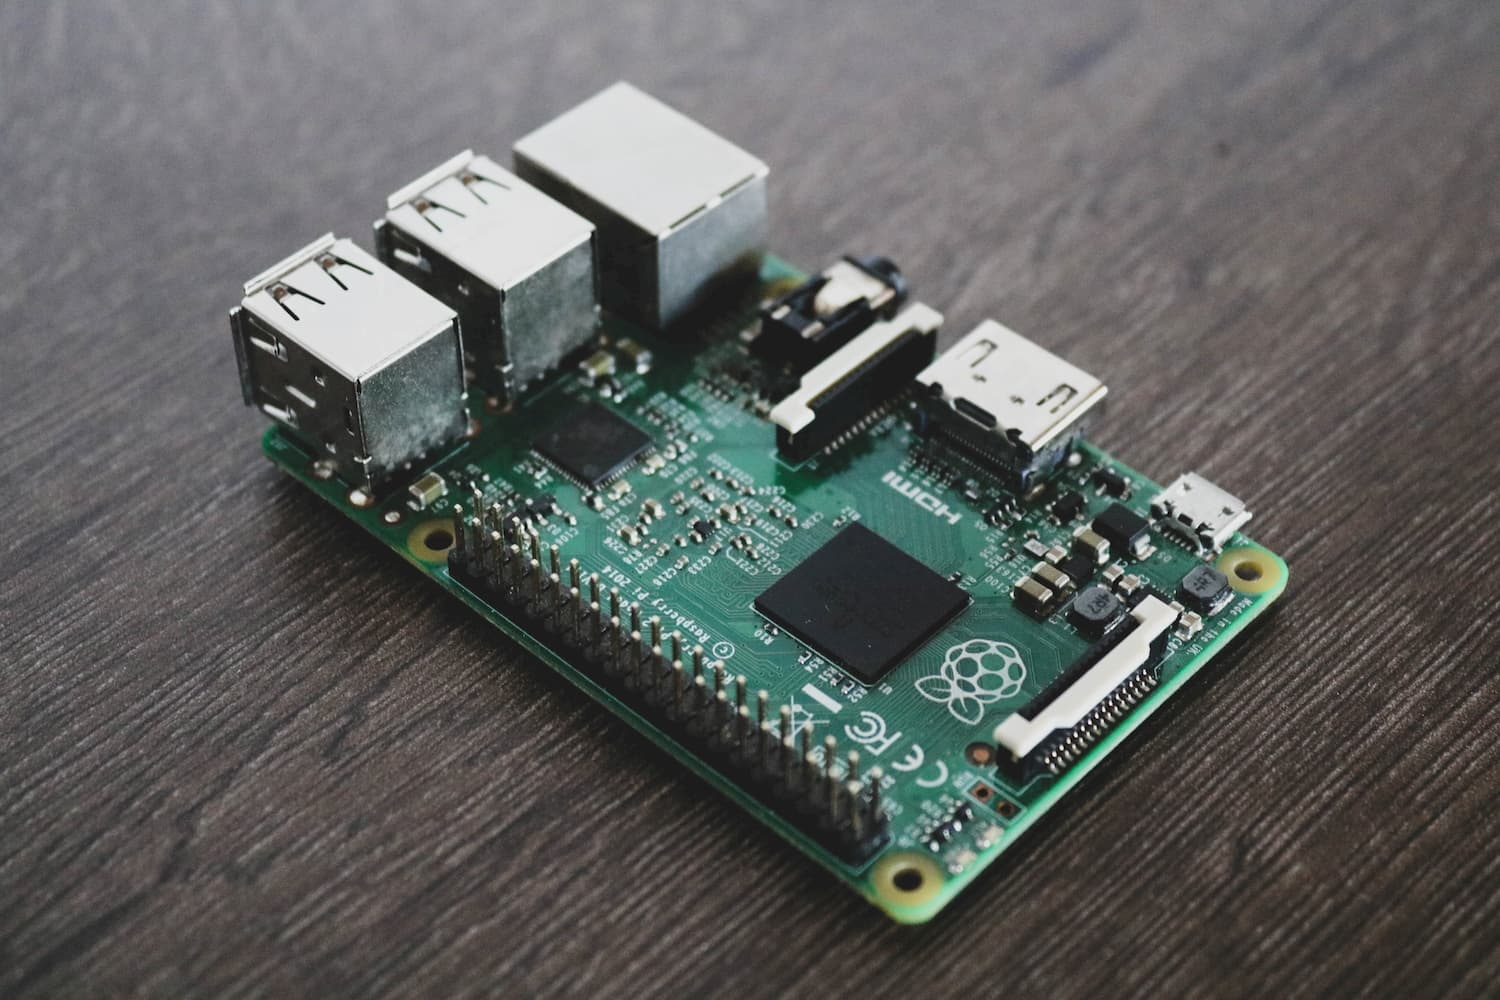
As mentioned in the beginning, there are many ways to run Home Assistant. The easiest way for most people is by using a raspberry pi board. These are tiny computers that only cost around 80$ but still offer plenty of power to run Home Assistant. Since the instructions for installing the actual software onto your device can change slightly from version to version, it's best to follow the official home-assistant.io/getting-started/ guide. For most new users a pi will be plenty but know that if you require more power or are already know Linux systems, it is possible to install the software using Docker or even in a Virtual Machine (VM).
For most people, the choice of which hardware to use will be to purchase a pi, but regardless of which platform you choose the rest of the process is exactly the same. Once you've decided what hardware you're going to use, go ahead and purchase the required components and follow the getting started guide to install the software. Getting the brains set up is the first major step in getting your smart home started, all it needs now is a configuration and some devices to control!
Setting up your first device
As an example to show how easy it is to set up a new device within Home Assistant, we're going to configure a smart light bulb. Not so long ago configuring any device involved editing configuration files in a text editor, but now it can be as simple as following a few simple steps. Note that not all devices support the type of easy setup we're about to demonstrate, but in those cases, the proper configuration is often well documented.
Navigate to the "Configuration" page using the sidebar on the left. The screen should look similar to the one below.
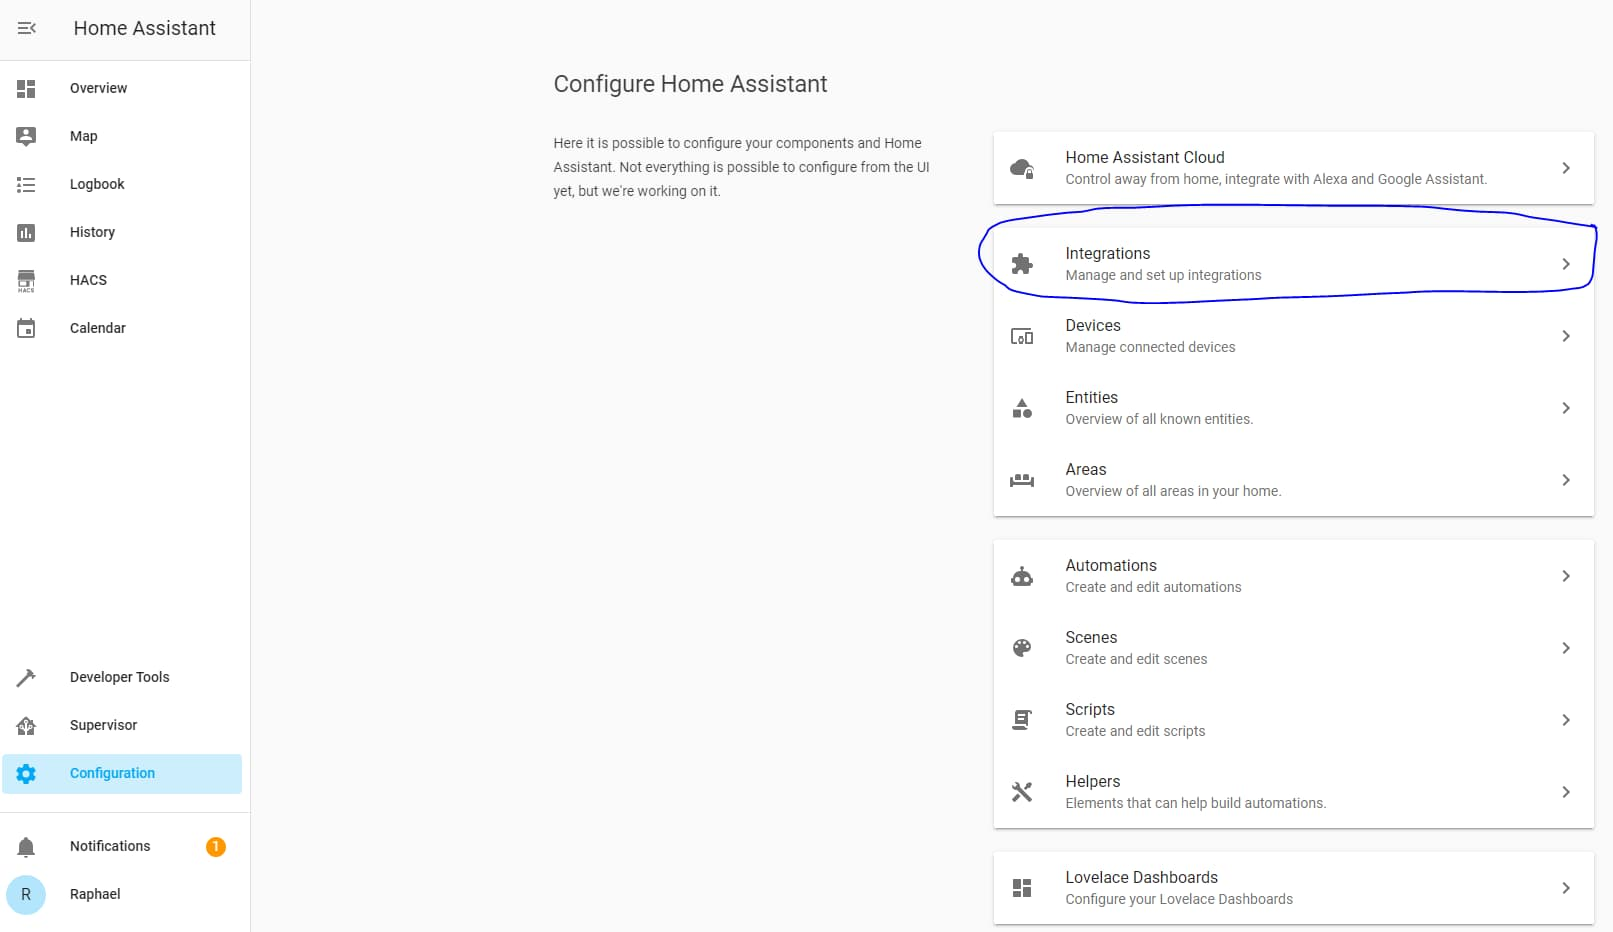
Click on "Integrations" to view the currently installed integrations.
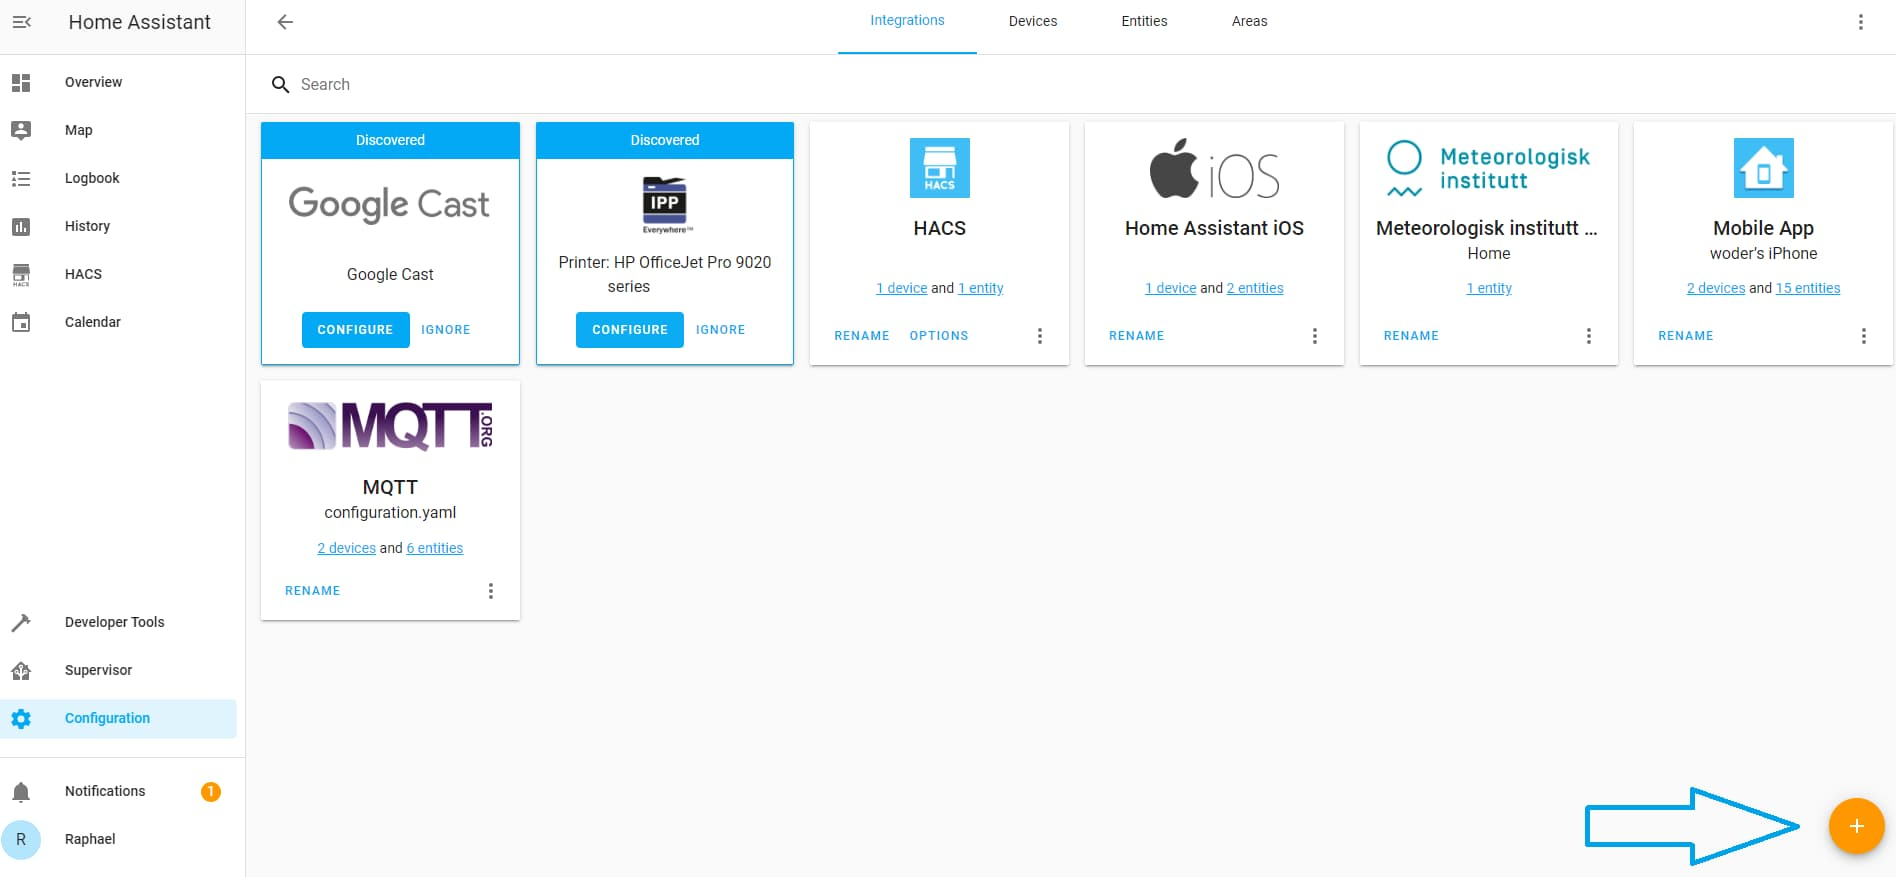
Now click on the "+" sign in the bottom right.
A window will pop up with a list of all integrations that can be configured using the UI. At the time of writing, not all integrations are supported with the UI wizard so if something you want isn't listed here, instead to look for it under the integration list linked earlier.
By clicking on an integration, you want to install the UI will walk you through setting up the system. Let's say I have a Phillips Hue hub, and I want to be able to control it. I would select the Philips Hue integration from the list and follow the instructions as the software adds all of my devices to the system automatically. That's it! Some integrations really are that simple, but some more advanced situations will require a lot more work to get things set up correctly.
Device discovery
You may have noticed that on the "Integrations" page there were quite a few cards listed as "Discovered". This is because the system actually tries to find devices; it knows how to talk to on its own if you have the proper integration installed. In my case, the core software (no additional install needed) found my printer and a Google Cast. The discover feature is handy for newcomers to the smart home space. Even if the device is usually a bit more complicated to install, the discovery feature allows the software to directly talk to the hardware and find out which settings are needed - all without you lifting a finger!
Summary
We covered a lot here, and while we didn't go into every detail, hopefully, you have a better idea of how you can start creating your very own smart home. The most important thing when it comes to a DIY smart home is that it is only bound by your own imagination. A quick search of the forum shows countless unique and imaginative ideas that others have used to make their home that much smarter.
Finally, let's end with my smart home checklist:
- Which technology will you base your smart home around? Is it compatible?
- Will you need to buy a hub to support some of the devices?
- Have you bought a Raspberry Pi or other computer to act as your home controller?
- Do you have a stable internet connection? If not, it may be wise to stay away from cloud-only devices.
- How much will the project cost with different technologies?
- Will the range of your WiFi be enough for everything you want to cover? If not Z-Wave might be the right choice
These points should help you think over the general points that are needed to get started with a smart home. If you want to learn more about DIY smart devices, check out how I made a DIY soil moisture sensor that reports moisture levels in Home Assistant. If you have a Meross device, and hate having to use the cloud, check out my guide on using Meross devices offline.
