3 Awesome Ways to Use Zigbee With HomeKit
Updated on 9th Jan 2021 17:34 in General, Home Assistant, Smart
Zigbee is a wireless communication protocol commonly used in smart homes. One of its many benefits includes that each non-battery-powered node on the network will act as a repeater making your range larger. Apple's HomeKit, on the other hand, is a network communication protocol, meaning it only specifies the commands each device will send and receive. HomeKit can run over WiFi or Bluetooth with most of the ecosystem opting to use WiFi for its longer range. HomeKit devices are cheap and easy to use, while Zigbee devices have higher range potential. Combining both of these technologies in one smart home would provide the best of both worlds, and luckily for us, it's totally possible!

Disclaimer: This post contains affiliate links. As an Amazon Associate, I earn from qualifying purchases.
Can you use Zigbee with HomeKit?
Zigbee and HomeKit are generally incompatible technologies. They run on different wireless standards, and each has its own set of commands. There isn't an official way to combine the two per se, but it is possible as the Philips Hue Hub has demonstrated with its internal use of Zigbee. There are a few ways to integrate Zigbee into a HomeKit environment, namely using a bridge device, using Homebridge, or using a DIY controller such as Home Assistant. The experience won't be as seamless as using either system alone. Still, together they can elevate your smart home with extended devices support, longer range, and reduced reliance on your WiFi network.
We will soon see three ways to create amazing home automation systems by combining HomeKit with Zigbee, but why wouldn't we just use one system? There is a long list of advantages to using many different protocols together, the biggest of which is almost certainly the ability to use almost any product. If your smart home supports 5 ecosystems, you will have 5 times more products to choose from than a system that only supports 1. Considering how easy extending your smart home with new protocols can be, there is no reason not to! Finally, each protocol has its pros and cons, making it suitable for a different situation than another one.
Method 1: Using a commercial Zigbee bridge
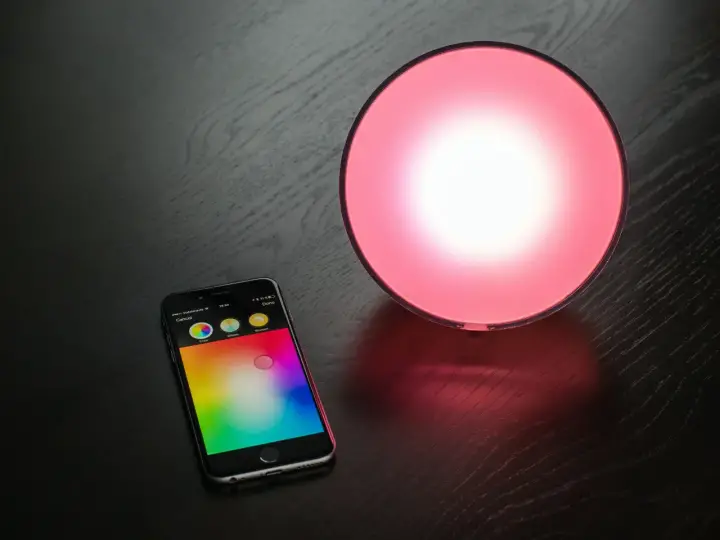
If you've ever used Philips Hue, you have used a Zigbee bridge. They work by acting as a hub for all the Zigbee devices on the network while also being externally controllable. In the case of HomeKit, those commands are sent from your HomeKit hub to the bridge. The bridge will then effectively translate your HomeKit command into a Zigbee command sent to the device, resulting in "bridged" control. One of the best parts about using a commercial bridge is that the HomeKit interface is usually fairly good. The bridge will appear in the Home app as a bridge device and will seamlessly integrate the Zigbee ecosystem into HomeKit.
The problem with this approach is that Zigbee bridges typically only work with that manufacturer's product line (Philips hue in this case). If you look at the Hue bridge product description, it's fairly obvious that it won't work with third-party devices. There is actually a way to add some non-Hue devices to the hub using the technique described here. While that method might work for some situations, there are others where it will simply refuse to. A way around all this is to only buy Zigbee products that are part of a bigger ecosystem that comes with an official bridge, but that can get expensive and is rather limited. In the case of Hue, you'd have to only use Hue devices to be guaranteed that it would work well.

Method 2: Using Homebridge
If you have been in the HomeKit ecosystem for a while, chances are you know Homebridge pretty well. In case you haven't ever heard of it, Homebridge is software written by the community that aims to add unsupported devices to HomeKit. The core system is a hub of sorts that can run plugins that add some functionality. One of their biggest claims to fame is that you can integrate Nest with HomeKit thanks to their system. The way it can help with Zigbee is with a plugin called "homebridge-zigbee-nt" which uses a Zigbee USB stick plugged into the computer to control everything. Check out this section for more details on which Zigbee stick you should use.
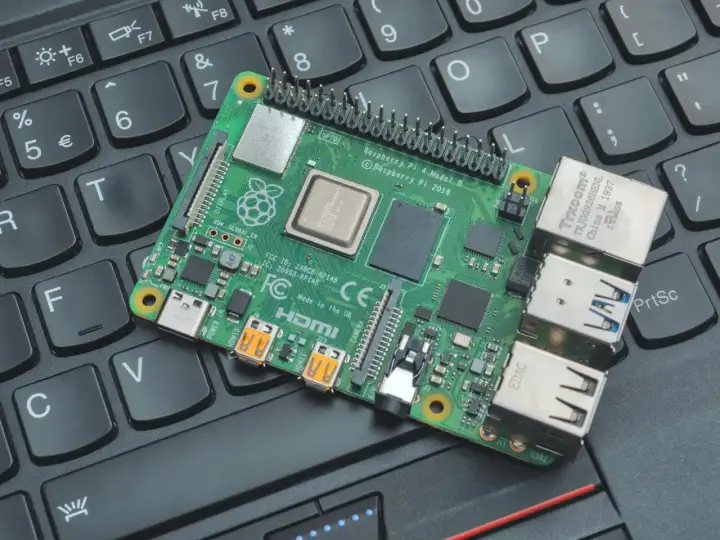
Despite the advantages, there are several drawbacks to using such software - most notably the additional expense of a computer for it to run on. The most common way people run Homebridge is with a Raspberry Pi, a small, inexpensive computer often used for hobby projects. Even with the Pi being one of the cheapest ways to run this software, it will still cost around 100$ for the board along with the necessary accessories. You'll also need a Zigbee USB stick for the Pi to communicate with the Zigbee devices as it will only have WiFi and Bluetooth out of the box! If you want to see how to install Homebridge, check out my guide on setting up a Homebridge controller here! Once everything is set up, the final step is to install a plugin that will handle Zigbee such as this one.
Method 3: Using DIY software
DIY software is talked about a lot on this site, and it's really thanks to its amazingly vast device support. A system built with DIY software can integrate virtually any smart device regardless of the manufacturer. If a plugin to support a given device does not exist, the user is encouraged to create one for the community's benefit. Of course, not everyone knows how to code, and many don't want to learn. In those cases, posting a request on the forums will often lead to someone developing the required plugin, assuming the product is somewhat popular. In most cases, the open-source community will have already created all the required software by the time you look for it. If you are like me, you may still find something that isn't supported, which is why I wrote the plugin myself.
There are many platforms to choose from, and the particulars of which you should use are discussed in detail in my article on the subject here. Personally, I like to use Home Assistant as it's the one I have the most experience with. Using a method similar to the one described in my post about creating a DIY HomeKit bridge, we can export any device connected to Home Assistant out to HomeKit. The trick is now to use a Zigbee USB stick to give Home Assistant access to the Zigbee network. See information about picking a stick here. Now any Zigbee device connected to Home Assistant will appear in HomeKit as if they were natively supported. Siri will be able to control them, and you will be able to integrate many more devices in this manner. This is my favourite method as it shares many advantages with Homebridge except it is also a standalone hub.

Which Zigbee USB stick?
The reality is that most Zigbee sticks should work decently well as the protocol is standard. Unfortunately, the commands are not standard, which automatically means some devices will not be supported. It seems most manufacturers attempt to keep things fairly consistent, but there will definitely be exceptions. One product reported as working well on both Home Assistant and OpenHAB is the GoControl USB Hub.
GoControl USB Hub Z-Wave/Zigbee
This stick packs serious value being both a Zigbee and Z-Wave hub. That's right, a single stick will allow your DIY smart hub to support both major independent wireless home automation standards. It appears as two serial ports which allows you to specify one for Z-Wave and one for Zigbee. It has good range, keeping in mind that the network's range expands for every powered device connected, assuming they are close enough. Overall, considering most Z-Wave only sticks go for well over 50$ each, this stick is a deal for anything under 80$.
Check out the GoControl USB Hub on Amazon!
Summary
We saw here that it's more than possible to integrate Zigbee devices into HomeKit. The cost of doing so varies greatly depending on which method you plan on following. I would generally recommend most people follow method 2 or 3 as they are the least likely to suddenly fail or stop working due to a manufacturer software update. The commercial bridges sound great in theory, but the appeal wears off when you realize that any third-party product support could be removed at any time with an update either on purpose or accidentally. The DIY method may sound like more work, but they mostly involve following instructions until it works, with the option to learn more about the technology if you choose to do so.
Below is a table summarizing the pros and cons of each method.
| Method | Pros | Cons |
|---|---|---|
| Method 1: Commercial Bridge | Easy to setup Better integration |
Expensive Only officially supports product lines |
| Method 2: Homebridge | Tons of plugins Integrate many other devices |
Need to DIY Parts can be expensive |
| Method 3: DIY Software | Supports virtually everything Can work as a standalone hub |
Can be complicated Less streamlined |


