How to Easily Use a Raspberry Pi as a Homekit Hub
Updated on 4th Oct 2020 17:05 in DIY, Home Assistant, Tutorial
HomeKit is great. It allows anyone to effortlessly set up a smart home entirely offline without the usual hassle of finding a hub that uses an offline protocol and operates without connecting to the cloud. These benefits are typically reserved for those with a HomeKit hub such as a HomePod or an Apple TV. However, there is a way to use a Raspberry Pi as a hub allowing the use of compatible devices without needing an official HomeKit hub.

Disclaimer: This post contains affiliate links. As an Amazon Associate, I earn from qualifying purchases.
Table of Contents
Using a Raspberry Pi as a HomeKit hub
There are a few things to note before we begin. The first is that this is not an official or supported method meaning you should not expect to receive help from Apple. There are also a few ways to achieve this same goal, but we are going to demonstrate the general idea using Home Assistant. Home automation software is in no shortage, and so there is a big possibility that the one you use will also support a similar technique.
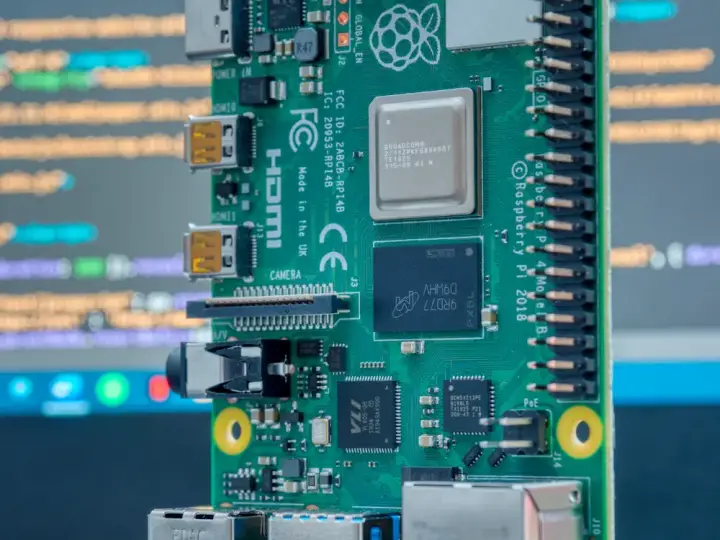
When it comes to the hardware, we are talking about a Raspberry Pi, but really it could be any computer. An old laptop, a virtual machine, or even a dedicated server computer are all acceptable ways to run the software. The biggest thing to keep in mind is that most of the software runs best under Linux and that the processing requirements are usually not too significant. For the purposes of this guide, a Raspberry Pi Zero could even work, though it will be much slower.
Why Home Assistant?
We're talking about HomeKit, so why is Home Assistant involved? The reason is quite simple: Apple does not make its hub software available. This only really leaves us one option, which is to use a program designed to mimic a regular hub, allowing us to control devices without having access to the original software. Of course, HomeKit hubs aren't only used to communicate with compatible equipment; instead, they also allow users to configure automations based on events or time.
There is no doubt that the program involved to make all of that functionality possible is not simple meaning that the task of creating a standalone program only to interface with HomeKit devices would be challenging. As a result, the best solution is to write an addon for an existing automation software that takes care of all the automation and entity management. In this configuration, the HomeKit plugin will only need to take care of communicating with devices.
This is precisely why Home Assistant is used. It provides rich functionality such as configurable automations, a massive library of plugins, and a scripting interface. It also comes with a companion app for mobile phones that allows control of the entire system, even remotely assuming everything is setup. The many strengths of Home Assistant will be used to counteract the limitations brought around by not using an official controller.
Limitations
As this isn't a supported way of running HomeKit, there are going to be several limitations compared to the regular ecosystem. In short, there will be no remote access via the Home app, and no automations in the Home app. This doesn't mean that there will be no way to do these things, but rather than the typical method won't be applicable. If you are a prominent voice assistant user, there is one additional drawback in that Siri will only be able to control devices locally.
In terms of remote access, there is a way to configure Home Assistant to allow control from anywhere in the world. The set up is a bit more involved, but it is certainly achievable by following the instructions carefully. Finally, while no automations can be configured using the Home app, there is a feature-packed automation editor in Home Assistant that has more options than the one natively available in HomeKit.

Setting up the software
The first step is to install Home Assistant on the Pi. This can be done in so many different ways, but you can follow my guide for installing Home Assistant on Raspberry Pi here. It's important to note that despite the fact we keep talking about a Pi, you can use any computer you like as long as it will stay on at all times. Once installed, set up all of the hardware in the desired final configuration since we will assume that it is in its final state for the rest of this article.
To get HomeKit working, we need a few plugins, notably HomeKit Bridge and HomeKit Controller. Both of these integrations will be responsible for different things, with the Bridge enabling the Home app to control everything in Home Assistant and the Controller allowing Home Assistant to communicate with HomeKit devices. First, we will configure the Bridge as it is not dependant on any devices. Follow our guide on setting up a bridge with Home Assistant to get this set up.
After following both of those guides, you should now have a Home Assistant instance running on a Raspberry Pi that has HomeKit bridge installed and configured. At this stage, you are ready to install the controller. The process is similar to the one used when installing the Bridge, but now Home Assistant will attempt to find compatible devices on the network and automatically add them to the system. From the main UI screen, click on the "Configuration" button from the menu on the left.
Then click on "Integrations", and you should see a screen with all of the currently installed integrations. Now click on the plus ("+") sign in the bottom left to add a new integration. Once the popup appears, type "HomeKit" into the search bar and select the "controller" by clicking on it.

Next, the system will automatically begin searching for HomeKit devices on the local network. Be sure that at least one device is ready to be paired or else this step will fail, and nothing will happen. It will spend some amount of time configuring things, but eventually, you will see a screen confirming it is installed successfully.

You will be asked for the pairing code, so be sure to have this on hand. If you are looking for suitable HomeKit devices, check out this Meross smart plug on Amazon. It has excellent reliability while also being sold at a great price. Most of their other products are also compatible with HomeKit now, so take a look at those too if you want to add to your network.
Note: the pairing code is a critical part of the setup process, without it, the device can not be added to the controller. If you do not have the code, you are unfortunately going to need to contact the manufacturer to see what your options are. Finally, be sure that any device you are trying to pair is not already in the Home app as this counts as it being paired.
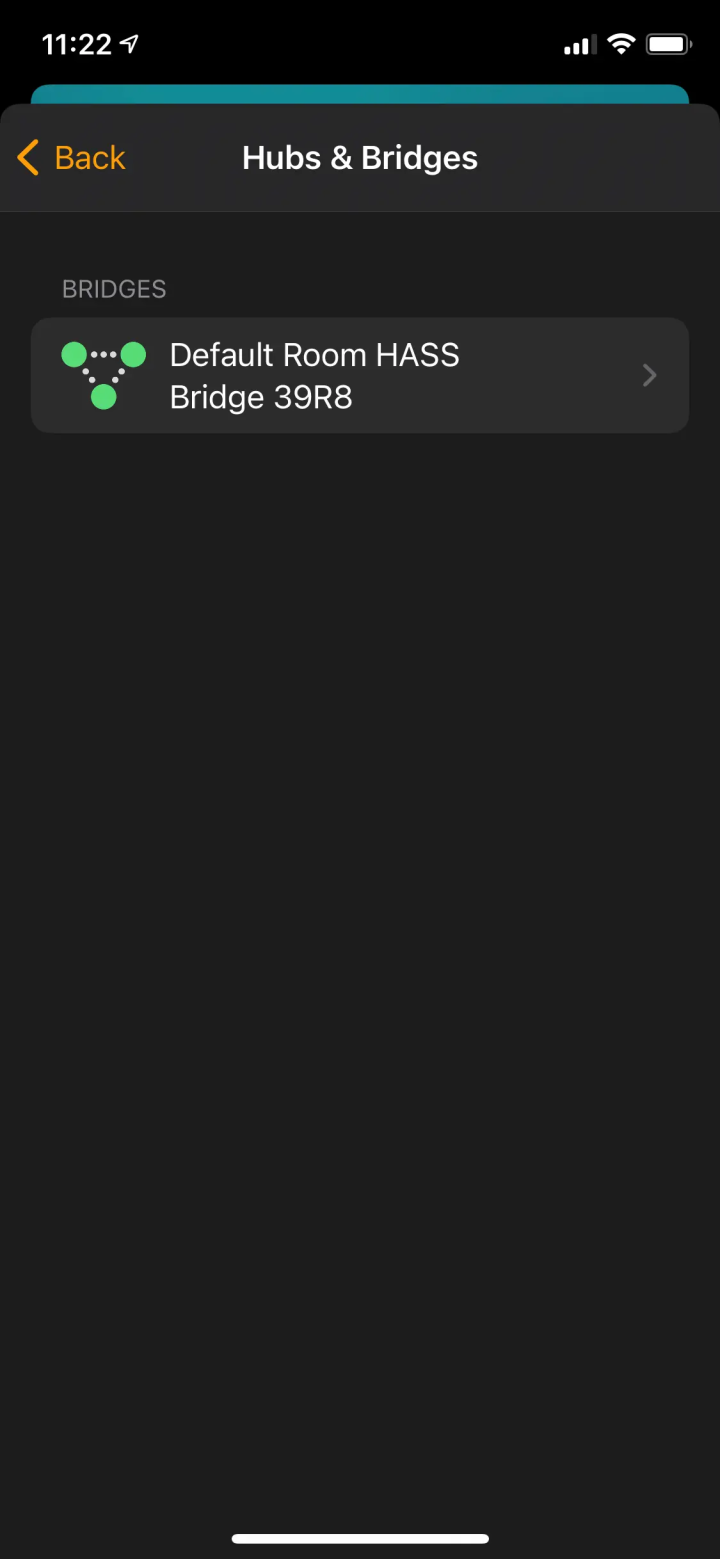
Once this is done, you should see your HomeKit devices in the main UI of Home Assistant. Additionally, the Bridge should be making the entities provided by the controller available in the Home app. The end result is that you should see the HomeKit devices in the Home app without adding them directly. They should be coming from the Bridge we set up earlier, as confirmed by going in the app and clicking on "Home settings", scrolling down and clicking on "Hubs and Bridges".

Remote use
Earlier, we mentioned in the limitations that the Home app will not work outside of the local network. We also said that there was a way to still have control of your devices remotely using Home Assistant. The exact method will differ immensely depending on your service provider, your router, and your specific setup. The instructions on the Home Assistant website are relatively straightforward and should be a useful guide for getting this working.
It's worth noting that once setup, the companion app can be used to control anything in your Home Assistant instance, including any non HomeKit devices you may have. The app isn't the only way to access it, however. You can also simply enter the address of your instance into a web browser and get the same options you get at home while on the go. It is possible to configure shortcuts to turn things on or off via the companion app so that you can still do things with Siri, see the guide on getting Home Assistant working with Siri for more on that.
Why not a drop-in replacement?
At this point, you may be wondering: why is there not just a program I can install on the Pi that will run everything precisely like a HomeKit hub? The answer is a bit complicated, but it ends up being more of a legal issue than a technological limitation. HomeKit hubs are deeply integrated with iCloud, despite running offline for most of their day to day activities. This integration is what allows things like automations and remote access to run, and without it, there is no way to configure them.
This is especially true for the remote access, as the Home app uses iCloud to connect users to their hub no matter where they are or how they are connected. Any project that would attempt to interface with Apple's iCloud system for HomeKit is almost certainly setting themselves up for a lawsuit. It makes sense too, there aren't too many cases where open software is allowed to directly interface with a commercial backend.
As such, any program that could act as a drop-in replacement would need to re-implement many features such as the automation controller and the remote access. These are not trivial to implement, which is why this type of software has mostly been developed as an addon to existing programs such as Home Assistant.


