How to Use HomeKit With Home Assistant in 3 Easy Steps
Updated on 26th Dec 2020 23:19 in General, Home Assistant, Smart
Home Assistant is a truly amazing platform for fully customizable home automation with support for virtually everything you could ever possibly want to integrate. The only thing you can't integrate is usually a product that doesn't have any API or known communication protocol. Even then, there are often hacks available that allow integration despite the restrictions. Apple's HomeKit ecosystem is also quite amazing due to its tight integration with Siri and iOS. It would be great to integrate both Home Assistant and HomeKit together as they both offer their own awesome features and luckily, that's possible! Let's take a look at how we can link them together!

Table of Contents
Why use both HomeKit and Home Assistant?
You may be wondering why anyone would want to use HomeKit simultaneously with Home Assistant - that would make a lot of sense considering they are both smart home platforms that work fine on their own. There are actually quite a few benefits to having both of these technologies connected since both of them have some opportunities that can be partially resolved when connected. The most obvious problem with Home Assistant is that finding easily compatible products isn't always trivial. That's because, while the platform can work with almost anything, it also doesn't have a standard that products can conform to. Usually, the best way to find products that will work is to get the ones that are either Z-Wave or Zigbee compatible, as those are standards you can trust. HomeKit, on the other hand, has a certification that shows up as a tag on the front of a box of any compatible device which will let you know it is going to work.
Home Assistant can run all sorts of software to make your home much smarter - that's not to mention that you can build advanced automations in Python. Even if that's not your cup of tea, the automation UI allows anyone to build basic scripts that are far more complex then what can be done in HomeKit. If you are interested in voice assistants, this combination is perhaps the easiest way to get one into Home Assistant as Siri is built into every HomeKit hub. Those that are privacy-conscious know that Siri is perhaps the only option that at least somewhat respects your privacy. That's why using both HomeKit and Home Assistant results in an awesome smart home that is rather simple to set up, but powerful to use.
How do you combine HomeKit with Home Assistant?
This is quite an interesting question. Most are aware that Apple isn't known for their open ecosystems that permit anyone to do as they please, so you would be forgiven for believing that integrating HomeKit would be a big pain. In reality, HomeKit is open-source for non-commercial applications (you need to be certified before selling HomeKit branded products) which means that any DIYer can put something together that will work. That also means that Home Assistant has an integration that provides all of the (with some limitations) devices registered with it over HomeKit.
The integration appears as a "bridge" device in HomeKit and acts like a Hue hub or something similar, which allows for a seamless connection between the two. Once that's set up, anything seen in Home Assistant will be displayed in HomeKit, allowing Siri to control them. You can also configure automations directly in the Home app, which are stored in the hub. There is also an integration designed to go the other way by making Home Assistant behave like a HomeKit hub. That is how you can pair any HomeKit-only device directly with Home Assistant regardless of whether you have a hub.

Step 1 - Configuring Home Assistant
First, configure Home Assistant with the required integrations. It's important to remember that the most important one is "HomeKit Bridge" which will allow any HA device to appear in HomeKit. If you do install both "HomeKit Controller" and "HomeKit", you will be able to pair your devices with HA and export them back to HomeKit. That is the approach I recommend. That way, all your HomeKit stuff will be controllable from Home Assistant should you want to use a complicated automation or have an extra layer of redundancy. Configuring the plugins is rather simple, but it's always easier to have someone explain the process. Check out my guide on configuring the Home Assistant HomeKit integrations here!
Step 2 - Building the HomeKit network
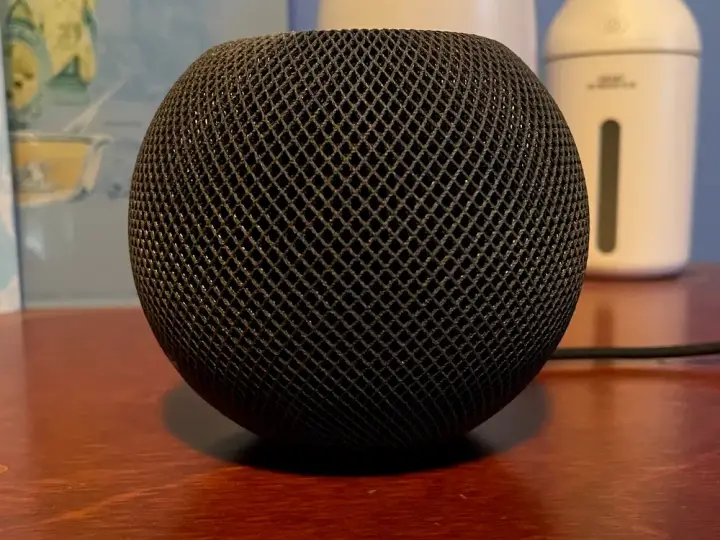
Once Home Assistant is properly configured; it is time to ensure you have a HomeKit network configured and ready to go. While the controller you may have set up in the previous step does work as a hub, it won't play nicely with the real deal, so it's better to use a real HomeKit hub here. I happen to have received a HomePod mini as a gift which will work wonderfully for this situation. By the way, if you don't already have a hub, be sure to check out my guide on the 4 Best HomeKit Hubs here! Apple tends to be known for their "magic" feeling when things configure themselves and work seemingly magically.
This is no exception. I unpacked my new Mini, and within 5 minutes it was already up and running after just a few short setup steps on my iPhone. At this point, my phone was already configured to use the HomeKit bridge provided by Home Assistant directly, so I was expecting to have some trouble getting the HomeKit aspects running. When I first got everything going I didn't really believe it was going to work with Home Assistant so you can imagine my surprise when I asked Siri to "turn off the Main light" and she happily complied. As it happens, the HomePod will just see the other controller as a bridge in much the same way we can use a Z-Wave stick to bridge Z-Wave into Home Assistant.
Step 3 - Profit!
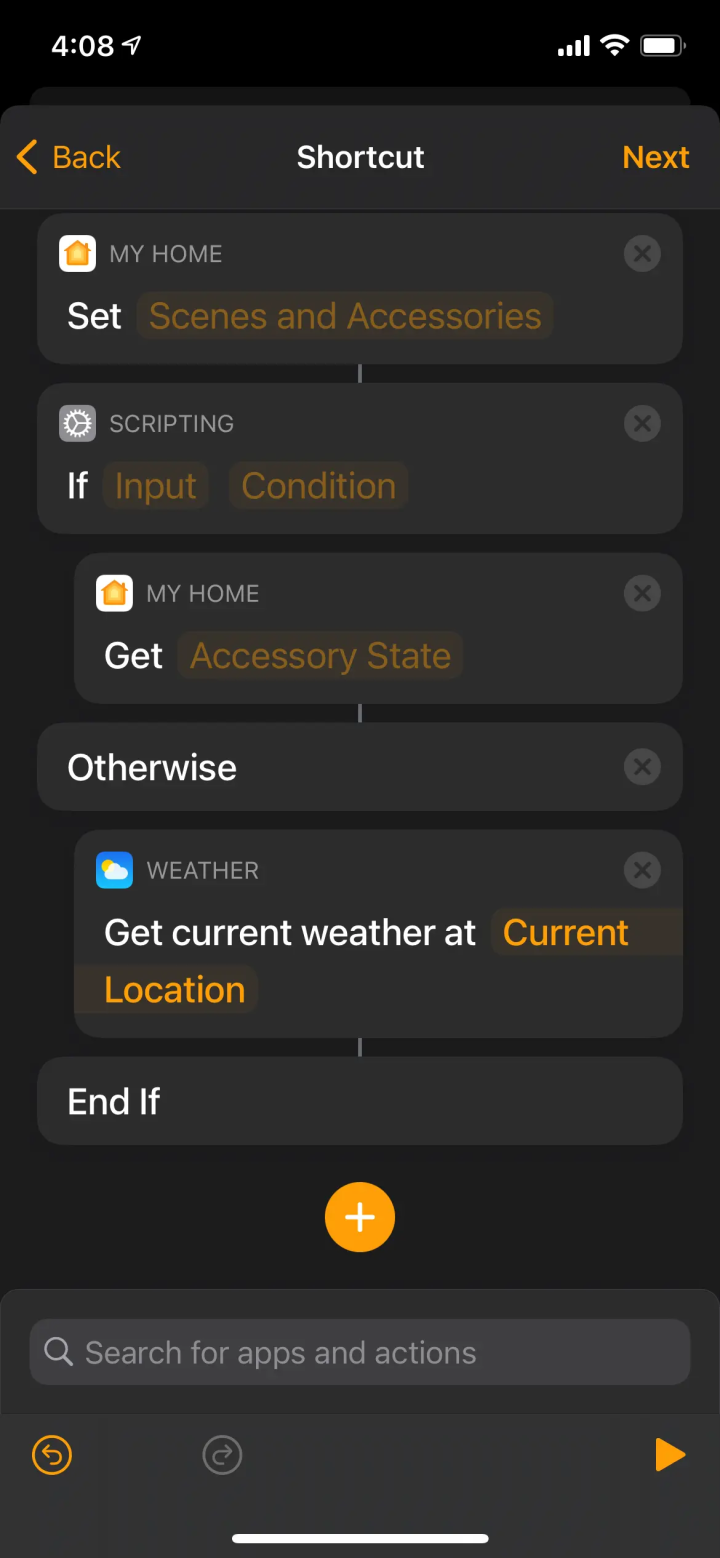
That's it, your done! Connecting both of these networks was really easy and opened up a whole new set of things for me to explore within my smart home. The HomePod acts as the coordinator for all sorts of awesome features such as intercom, airplay, and HomeKit automations. While the automations it allows you to create aren't nearly as advanced as the ones in Home Assistant, I was surprised to see the same interface as in the Shortcuts app available to use. It allows if statements, loops, variables, and even the ability to fetch data from a URL (including JSON decode and all that awesome stuff).
That said, I would still recommend you pair all your devices with Home Assistant first, then export them to HomeKit using the bridge integration. It's worth noting that the Home app isn't bothered by the fact that the accessories come from a bridge, so you can still create automations and use all the other features as if they are HomeKit native devices. For context, my "Main light" is actually a Z-Wave dimmer switch connected to a Raspberry Pi running Zwave2mqtt that is paired with Home Assistant that is then exported to HomeKit. If that level of transformation from one standard to another doesn't impress you, I don't know what will!

Summary: How the HomePod Mini is great for a smart home
There are many people who aren't particularly fans of Apple, and as a smart home enthusiast, I totally get that! The one thing that must be said regardless of your opinion of the company is that HomeKit is an amazing platform that offers so many benefits compared to the competition. I would even argue that HomeKit has no competition because there are currently no other protocols that are fully designed to work both on your local network (LAN) and be totally offline. In any case, the fact that a HomePod Mini is priced at around 100$ makes it a no brainer for use as a smart hub - especially when it also brings so many other great features. As I mentioned in step 2 though, don't forget you can use other devices as a hub too!


